Showing posts with label dress. Show all posts

Sunday, October 13, 2013

Do a Redo: Women's shirt into a dress for children

It's been a loooong time since  last posted anything but I want to get back on track again :))
And what would be more suitable than a very summery post about a very summery dress...ok i can think of many more suitable things to post about now that it's getting colder and we're nearing Halloween etc, but the truth is that i was supposed to post about this dress before the summer started and then...the summer started and I forgot...
So I'm posting it now and if not for anything else then at least as a reminder that the summer will return in about ...9 months ;D

But anyways let's get to the business...
So my sister in law gave me a bunch of really airy and light white blouses and at the time I was planning on wearing them during the summer...and then I cut them to pieces and made children's dresses :D


I used a pattern from a craft magazine I had in my stash. This differs from the post I made about re-purposing a men's shirt into a girl's dress in a couple of ways. Firstly the bodice and the skirt are two separate pieces. I wanted to maintain the interesting look the fabric had originally so I cut the front piece of the bodice out of that and then I wanted the skirt part to be quite gathered and flowing so I pleated the skirt to the bodice.


I left the sleeves loose instead of shirring them like I did with the other dress.It came out pretty much exactly as i wanted it and I will definitely make her a couple of these for next summer, too :))


Hope you have a beautiful autumn day!!
Ciao-ciao!

PS. Looking at these pictures I realized HOW MUCH Tindra has actually grown during the summer :))

Friday, June 7, 2013

Do a re-do: men's shirt into a girls dress

So some weeks ago my hubby and I decided to clear out our closet. And although we donated quite a bit of the clothes that don't fit anymore or we just don't wear anymore we I ended up keeping a bunch in my "I-have-such-great-redo-ideas-I-will-definitely-make-so-I-keep-way-too-many-old-clothes-we-don't use-anymore pile".
And I have actually been trying to make stuff out of those garments in that huge pile. Now that we have a child, it's easier to redo old clothes into new ones because you can just make a smaller version of everything :D
I'm also more motivated to make clothes for my daughter because I love seeing her in cute clothes :))
Anyways let's get into the business.


I took this shirt that didn't fit my hubby anymore. I used the basic guidelines of this tutorial. But I made it a bit easier by taking one of my daughter's dresses placing it on the shirt and tracing around it. I did the same for the sleeves.

 I made the neck casing and put a rubber band inside but I didn't put a rubber band into the sleeves or the waistband. Instead I just shirred the sleeves and also the waistband, much easier in my opinion :))
The little lady is walking on the grass bare feet for the first :)) She didn't find it very enjoyable ;P


I already have a couple of other dresses in the making, I'll keep you posted on those :))
See you soon!
Ciao-ciao!

Saturday, June 1, 2013

Granny Square Dress for a Girl

Ok, so I made this pile of granny squares I showed in my previous post...


 And then I started to put them together.I didn't have any specific plan or pattern I just started to crochet the squares together with a slip stitch. I crocheted the shoulder straps and added some buttons for the fasteners.


I also left the back a little bit open and added three buttons there, just to make it easier to put the dress on (it would fit on without the opening also, but it's less fussy like this ;D)

It came out bulkier than I originally planned, I should have used a finer yarn and a smaller hook but then I probably wouldn't have ever finished it (I'm not good with time consuming projects :P).
Maybe I'll be up for the challenge in the future, we'll see :))


I hope everybody is having a wonderful weekend!
Ciao-ciao!

Tuesday, May 28, 2013

Granny Square Madness

I've been making these granny squares for a couple of weeks now (not non-stop of course but almost every day at least a couple) and I finally have the amount that I need for making a summer dress for my daughter. Or at least I hope I have enough :)


 Anyways I will start crocheting the squares together and I hope I will achieve the look I'm going for as I'm not using any instructions or a tried out pattern, I'm pretty much just flinging it.


I already know though that it will be a bit bulkier than I intended but anything looks cute on a baby, so it's gonna be ok ;))
I'll keep you updated on the progress.
Ciao-ciao!

Monday, September 10, 2012

TWA - The Dresses

This is the last wedding-related post I will write but I already have some next posts waiting and I hope I'm able to keep up with posting at least once a week :))
But on with the post...so I made the crazy decision to make the bridesmaid dresses myself and on top of that i made an even more outrageous decision to sew my bridal dress myself also. The bridesmaid dresses weren't too difficult to sew because the cut i was going for was simple enough and also i used linen for the dresses which is a simple fabric to work with. The bridal dress on the other hand was a completely different story. I used very lightweight silk to make the dress and i can tell that it wasn't a forgiving material to work with so it was kind of stressful. And to tell you the truth if i had the chance to do it all over again i would definitely skip making my own dress although i liked the way it looked in the end, especially the beading on the dress (but that i could have just done to a ready-made dress also). It would have been just much less stressful to just buy a dress and make some alterations to that if wanted. But what's done is done and fortunately everything turned out great anyways and that is really the only thing i would have done differently if i would have known better ;P
But now... on with the pictures...

 I found this picture of a linen dress on the internet and thought it looked cute and that something similar would be nice for my bridesmaids also.
 

So this is the version I made for my bridesmaids. All three of them had the chance to decide how short or long they wanted the dress to be. And my sister (on the picture below) wanted it to be quite short ;D

 I wanted my dress to have a glimpse of red in it and for some reason i immediately imagined the dress with red beads made out of seashells so they have a really beautiful sheen to them. And that's exactly what i used to make the beaded part of the dress.


And here's a glimpse of the back of the dress.

Hope you have an awesome day!!

Wednesday, November 10, 2010

the LBD

So i finally managed to ask my fiance to take some pictures of me in the black dress i made.  I used black lace and a random black stretchy material under the lace.
The idea for this dress is actually really old and to be honest me and my best friend already did a very similar dress for a fashion-show-competition-thingy and we gave it to one of our models as a present afterwards. But i liked the dress so very very much that i just had to recreate it, well not the exact same dress, i made some modifications and changes to the original design but the idea is still the same- lots of lace, long sleeves and a turtleneck collar.
And here come the pictures.


 PS. I'm not the best model but because the dress is all black and i wanted you to separate the lace from the black fabric under the lace, i had to put the dress on to take the pictures, otherwise it would have been a big black mess and no lace to see.

Until my next post.

Tuesday, October 12, 2010

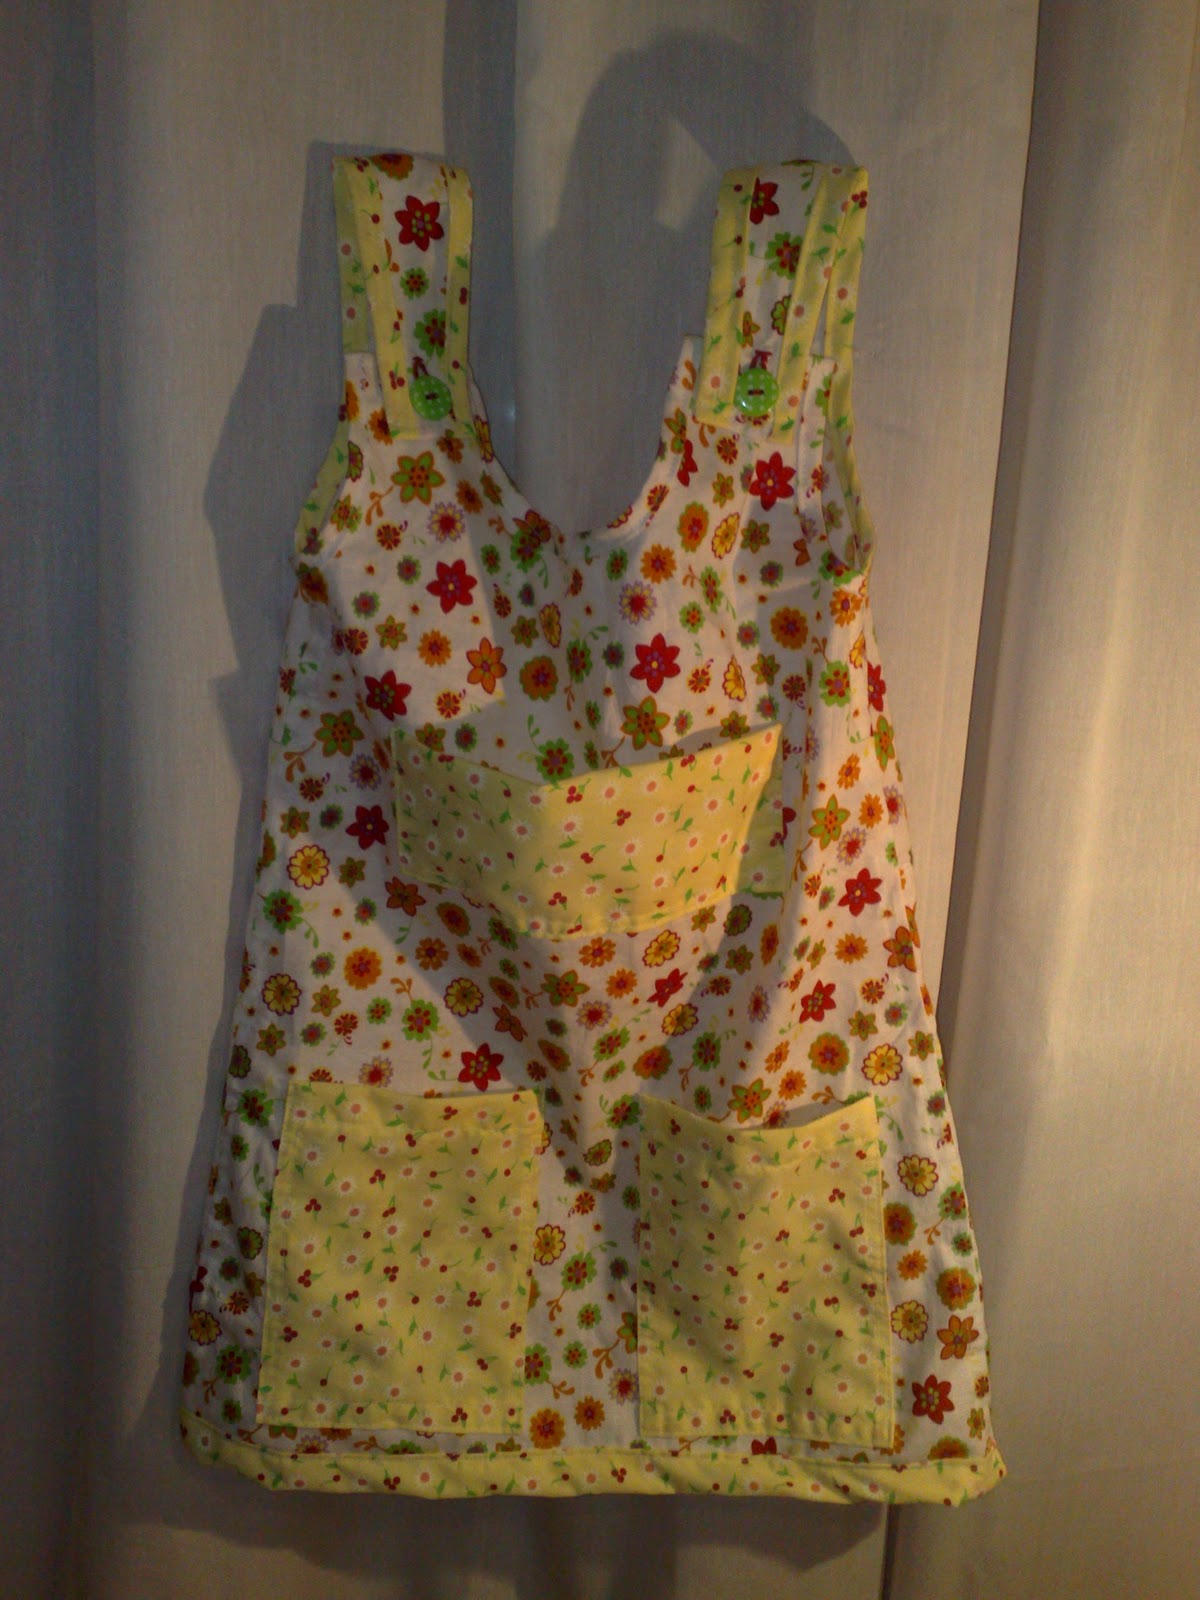
Toddler dress

Once again i haven't posted anything for a while but now i will and there will probably be some more posts soon because now i have my own sewing machine which was a birthday present from my parents and grandmother(thank you all so much!!). And my first project with it was making a toddler dress for my little sister. The main idea was to make something really colourful and fun and personally i think i have succeeded :))

this is my simple Singer

The materials i started with
       
 ..and a closer look

Finally the outcome from the front and..

 ...from the back

Hopefully i will return soon.

Good night.