So i decided to make coin-purses for some of my female-darlings as gifts for xmas :) The idea popped to my mind because i thought that i would need one myself starting from 1.january, because our new course starting from that day is Euro (Goodbye our lovely Kroon) and that means a lot of coins-coins-coins in our purses. I bought these silver purse frames from a local fabric store and they were sew-ons so it was super easy to hand-stitch them to the
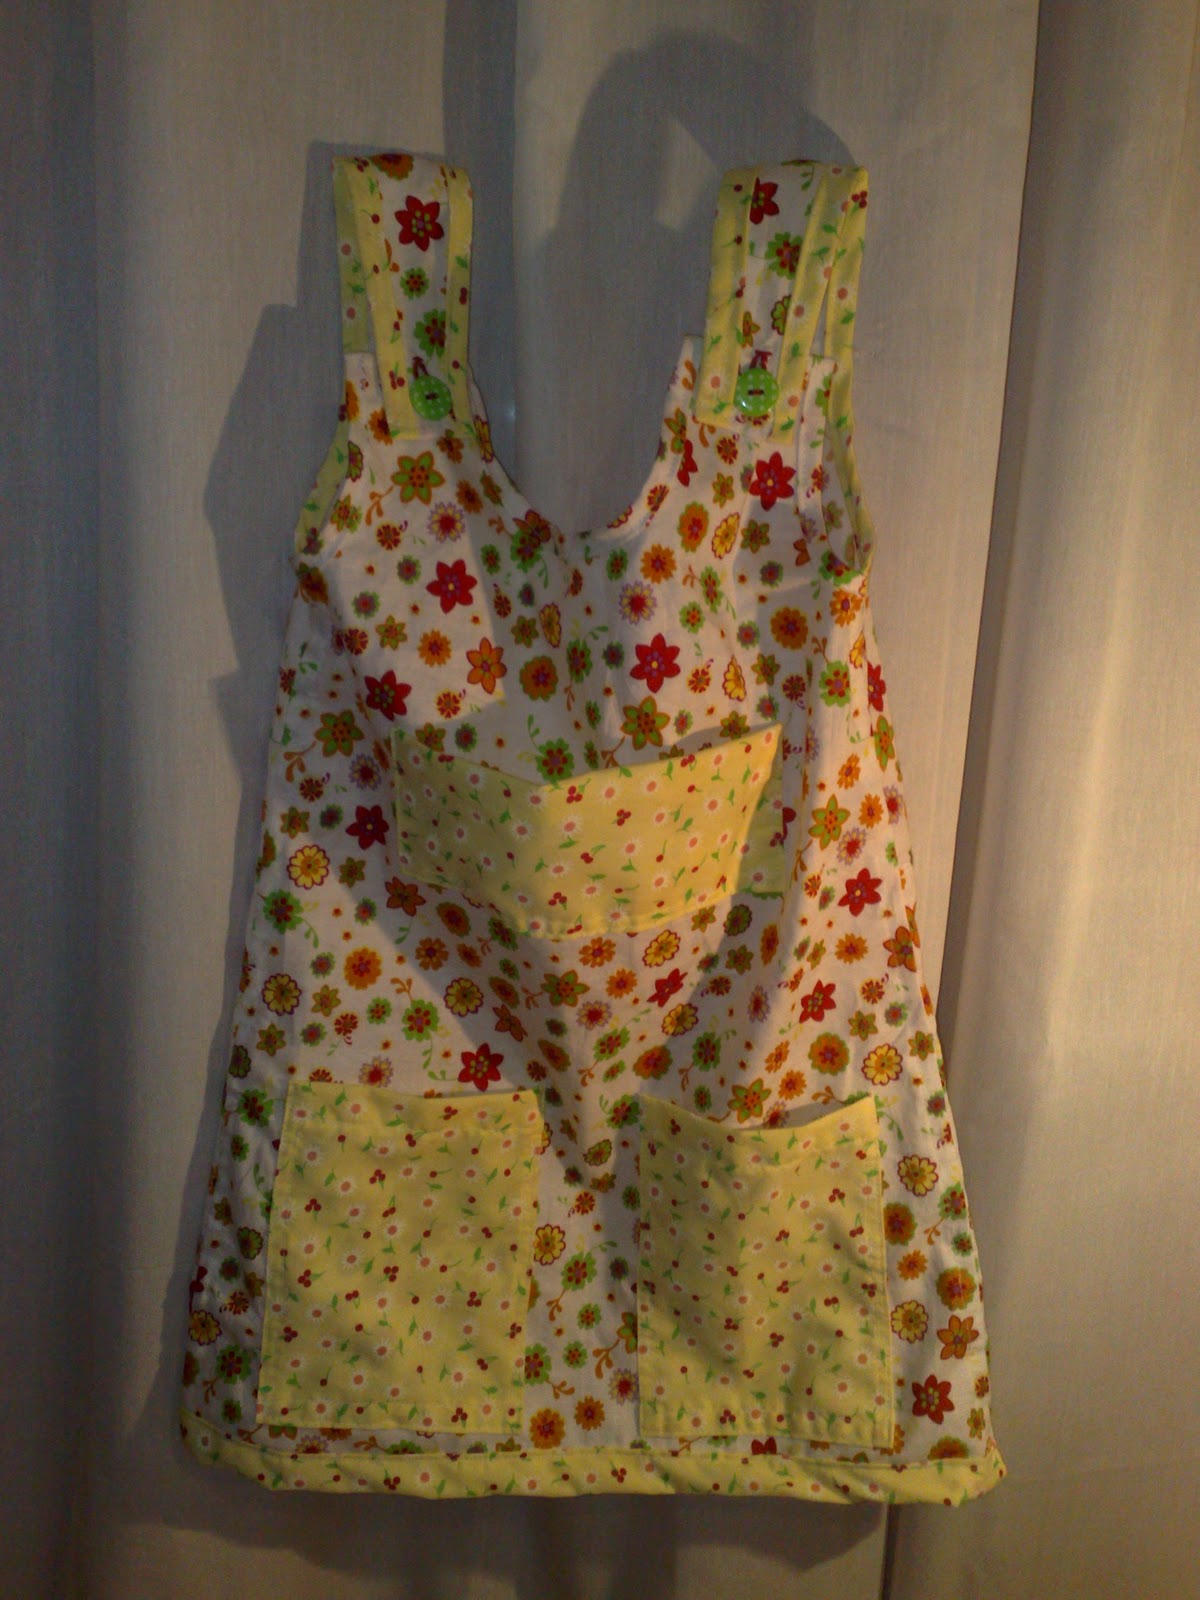
baggies i had sewn before. I wanted all of the purses to look a bit different but still come from the same "species" so i stitched some lace(-flowers) to decorate them.
I must say that the purses came out a bit large but on the other hand it makes them a bit goofy and that's usually the way i like things to be ;D
I didn't get the time to make myself one yet but i definitely want to but i will use some other fabric(maybe from one of my purses i haven't used for a couple of years now) because the fabric i used for these nice coin-purses i actually bought to make a new (bigger ;P) handbag for myself.
Noticed the new design of my Ticklish Fingers? It took at least half a day and a lot of help from my soon-to-be-husband (thank You so much honey :* ) to make it happen...but We did it!
I was wandering through different crafting-blogs (once again instead of studying ..argh) and i found this link where there are toooons of different customized fonts AND you may download all of them for free!! Amazing !! So of course i found many-many fonts i absolutely adored :)) Next i saw that they have tutorials for how to use those fonts for customizing blogs. Firstly How to create a signature for your blog and secondly How to customize Blog Titles etc . We had some trouble with the last one but thank god i've got a bit of a computer-nerdy Honey sitting next to me, so he helped A Lot. And I Thank www.kevinandamanda.com/ also A Lot because i got some fantastic fonts from there and the tutorials were also very useful.
Make sure you go and check out those Fonts(atleast if you want to customize your blog or need to make some cute invitations etc :))
Good Night!
Friday, January 7, 2011
Saturday, January 1, 2011
Snowflake curtain
Since it is the beginning of a new (and hopefully a better) year i start by wishing everybody a Very Happy New Year!!
It has been a busy-busy time in school so i haven't had any time to even think about posting something here but now i will.
Although The Holidays are almost over I want to post this Very simple idea to decorate your home for Christmas (perhaps next year)- a snowflake curtain.
The last time i made snowflakes was years ago so i had to look for some tutorials from the internet how to fold and cut the paper that the outcome would be snowflaky..and not blaah-flaky ;D
First take an A4 paper...
Fold it as shown in the picture below..
Cut off the remaining piece of paper
This is what your paper should look after cutting the extra-part off
Now fold the paper in half as shown in the picture
Now you should be looking at a triangle like the one in the picture below
Now comes hardest part to explain.. you have to fold one side of the triangle little bit over the middle line of the triangle..
...and then do the same to the other side of the triangle, except that if the first side was folded towards yourself then the other side will be folded away from you. So one side will be folded to the front and the other to the back.
Now cut of the two tips...
..and snip-snip away.. mine looked this after cutting different shapes into the paper
..And this is what it looked after opening it :))
And I made a bunch of them with my boyfriend
And then i just took a needle and some thread and stitched them together to form a "curtain" and ta-daa a simple way to decorate your home :)
I tried to make different sizes so the outcome wouldn't be so monotone
..And those oranges...just stick a bunch of cloves into the oranges put a thread around them and let them hang- a nice decoration and an even nicer scent of Christmas :))
I did a lot of Ticklish Fingers stuff for presents this Christmas, hopefully i will get some pictures of them up soonish :))
Wednesday, November 10, 2010
the LBD
So i finally managed to ask my fiance to take some pictures of me in the black dress i made. I used black lace and a random black stretchy material under the lace.
The idea for this dress is actually really old and to be honest me and my best friend already did a very similar dress for a fashion-show-competition-thingy and we gave it to one of our models as a present afterwards. But i liked the dress so very very much that i just had to recreate it, well not the exact same dress, i made some modifications and changes to the original design but the idea is still the same- lots of lace, long sleeves and a turtleneck collar.
And here come the pictures.
PS. I'm not the best model but because the dress is all black and i wanted you to separate the lace from the black fabric under the lace, i had to put the dress on to take the pictures, otherwise it would have been a big black mess and no lace to see.
Until my next post.
Thursday, November 4, 2010
Halloween.
We don't celebrate Halloween in Estonia much but this was the second year in the row when me and my friends did celebrate it. I always get so exited about theme parties and do a lot of research. Last year around Halloween i was surfing in youtube and i found this really talented guy (username Petrilude) who is a make-up artist and he also does really scary and freaky looking make-ups for Halloween. So this year i naturally looked him up again and checked if he had posted something new. I found many that i liked and wanted to try to do but the final choice was to use Petriludes zombie tutorial and exposed teeth tutorial. So if you want to know how to do these looks or you need some other makeup tutorials then just click on the links and have a look. And now to the pictures...
PS. the looks didn't come out perfect but at least people on the streets were impressed and easy to frighten ;D
PSPS. the pictures ain't very bright and some of them are foggy because i was moving when the picture was taken..sorry about that.
PSPSPS. I made a black dress a couple of weeks ago but i haven't had the chance to take any good pictures of it, but hopefully i will make a post of the dress in the next few days.
First a couple of pictures of making the zombie look..
And the result:
And then some pictures of making the exposed teeth look..
And the result of that:
And now for my own costume I used Petriludes unzipped tutorialas inspiration and the goal was to be a creepy looking doll.
And the final outcome. This picture was actually taken right before i was going to remove the zipper because it started to annoy me(it was kind of hard to drink and eat with it)
So before we went out to the bar I changed the look a bit. But i looooove the black contact lenses i bought for this look.(my eyes are naturally green)
PS. the looks didn't come out perfect but at least people on the streets were impressed and easy to frighten ;D
PSPS. the pictures ain't very bright and some of them are foggy because i was moving when the picture was taken..sorry about that.
PSPSPS. I made a black dress a couple of weeks ago but i haven't had the chance to take any good pictures of it, but hopefully i will make a post of the dress in the next few days.
Tuesday, October 12, 2010
Toddler dress
this is my simple Singer
The materials i started with
..and a closer look
Finally the outcome from the front and..
...from the back
Hopefully i will return soon.
Good night.
Subscribe to:
Posts (Atom)