Monday, June 2, 2014

Shady Business

We bought this (Jugend styled?) lamp a couple of years ago from a Fall Market in Tartu. It was put in storage after that since we really didn't have a place to hang it in our apartment back then. But now we have moved and we had a perfect place for it over our dining table. It only had one problem...no shade what so ever. At first we thought that maybe we could make it work without the shade, but the light was too harsh and very...in our face ;P


So I searched through my fabrics, found something that i liked and got to work. I tried out a couple of different ways to drape the fabric and decided that the best way was to sew a rectangular piece of fabric to the top rim of the lamp and then gather the fabric at the bottom.


It took some time to sew the fabric to the top since I did it by hand and standing on a chair (since we couldn't be bothered to take the lamp down ;P...which probably would have been easier to do than sew everything while the lamp was hanging..well ..live and learn :D).


I really like the end result (as usually with the projects I show here...the ones I don't like so much don't usually get much broadcast ;P). There is enough light coming through the fabric and the light gets defused nicely around the room.

Ciao-ciao,

Wednesday, May 14, 2014

A Little Thread Goes a Long Way

Last Sunday, on Mother's Day, my sister's school had a fair to raise money for their school so I decided to make some earrings to be sold there. i used the same thread graphics technique that I wrote about here.
The weather was terrible on Sunday and there wasn't much people at the fair so I only sold 3 pairs, but it was still very exciting that somebody actually bought my earrings! :))


The last three pairs are the ones that have new owners now :))
Have a wonderfully sunny day!

Ciao-ciao,


Friday, May 9, 2014

Once Upon a Time There Was a Ceramics Class

So here's the post about my ceramics class (FINALLY!) or rather the things I made there. Keep in mind this was my first ever experience with clay and nothing came out exactly as I had imagined it :D
I really-really enjoyed the class and I will definitely take another ceramics class in the (hopefully) near future :))


 This was literally one of the two first things i made in the class, it was meant to be a cookie jar.... looks more like a vase ;D


 This was also one of the first things I made
 
 
 I made a very....umm...artistic tray ;D

 A coffee mug for my lovely hubby :))

A bowl with some stamps pressed in the center
 

 ...for fruits, cookies, chips, candy....all the things I love

Plate for serving all kinds of yummy stuff

 And also a couple of love-mugs :))

This wasn't my idea (although i wish it had been), I saw a picture of similar mugs on Pinterest and got inspired :))

Like I said already, i really loved that course, so I definitely have to take up ceramics again at some point.

Hope you're having an awesome day!
Ciao-ciao,

Monday, March 10, 2014

Super Chunky Knitted Pillow

So I'm trying to get all these posts done that have been postponed so many times that it's been already months since I actually created these things ;P. Well what can you do when life gets in the way :))
One of those things is this super-duper-mega-üper-(insert some other extreme adjective here)-chunky knitted pillow(case) I made.
I got some really chunky yard from my mum and decided to make a pillow out of it.
The design is actually really easy and I didn't follow any particular pattern. I just knew that I wanted there to be knitted cables in various sizes on it. And that's basically what I created.

I tried to make a printable pattern if anybody would happen to be interested. Since this is the first time I've done this it might not be perfect but I tried my best to make it clear :)) I knitted a piece that was approximately 30 cm wide and 95 cm long repeating this pattern.


Then I folded the piece lengthwise so that the ends would overlap approximately 5cm at the top. I sewed the sides together using instructions from this tutorial on YouTube. After that i sewed on the buttons, inserted the pillow and that's it :))


It was a pretty quick project to make since the yarn was so thick and the needles were also huge (10mm ones). The only problem right now is that the buttons are too small for the button holes because I used the biggest buttons I had lying around which clearly weren't big enough since the buttons keep slipping open ;P I should really get some bigger buttons... I probably will..at some point...if I remember ;P


Ciao-ciao,

Tuesday, February 25, 2014

Thread Graphics

This was my first try at thread graphics
It's been ages since I last posted something, but that doesn't mean that i haven't been doing/making a lot of things ;D. I just haven't had the time (or energy) to write about all the stuff I have been up to. I will try to do my best though to write about these things now that we have moved and had some time to settle in (we finally got our sofa about a week ago..jeee!!)
So the past autumn I had the need to explore new grounds, so I tried out pottery (I'll have a post about this up soon), dancing (I loved it so much that after moving to Finland, one of the first things I did was signing up for a contemporary dance class ;D) and I also had a chance to try out thread graphics (Thanks to my friends ♥ , who gave me an awesome birthday gift!).
I have to admit I wasn't sure what thread graphics was before reading the description of the class. It turned out to be quite a bit of fun and I immediately got a lot of ideas what to do with the technique.
I would say that thread graphics is basically a type of embroidery that combines math and geometrical shapes with embroidery. It is most commonly used in paper crafts for making unique looking cards or other decorative things (like seating cards or menus etc). But it can also be used for making jewellery or even Christmas decorations.

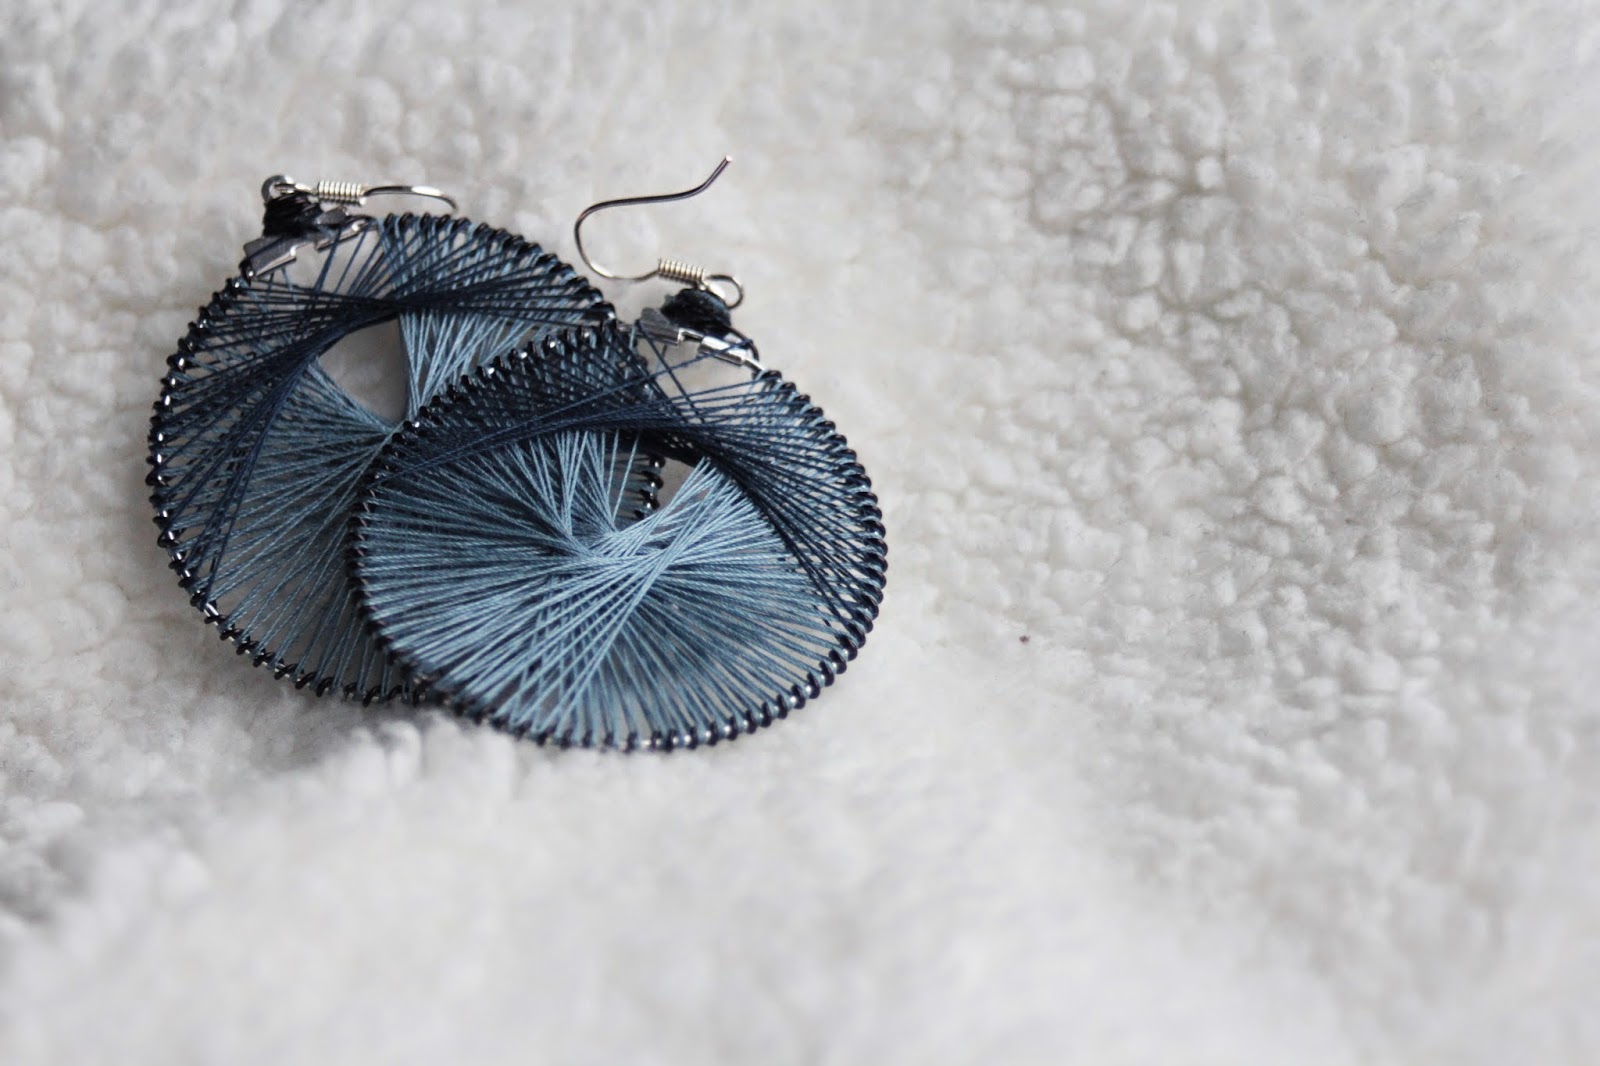
I also made some earrings with the technique

All in all I really enjoyed learning this new technique and was surprised how quick and simple it actually is to make something with this technique. I'm sure I will get a lot of use out of this technique in the future.

Ciao-ciao,

Sunday, January 12, 2014

Easy DIY Ruffle Pillow

Christmas came and left and so did New Years Eve... I can't believe it's the year I turn 25 already ;P
We are also kind of in the middle of moving right now so the last few weeks have been quite an exciting and busy time for me and my little family :) Luckily i have had this post waiting or some time so I can publish it now :))
Do you remember the post about the duvet cover I made? Well anyways I had some leftover ruffles and of course I couldn't just dismiss them and throw them away. So I decided to make a little ruffle pillow. And I even took pictures of the process (for once!) ;D so I can share it with you and try my best to explain all the steps.

First cut out the pieces, for my pillowcase I cut out a square that was 40cm x 40cm and two pieces that were 40cm x 30cm. I used these measurements just because I already had a pillow and those were the measurements that I thought would suit best. You can always alter the measurements according to your needs.


Turn back the edge twice on each of the smaller pieces of fabric, so you will have a "clean" edge. This will be the opening for inserting the pillow. Pin first and then stitch to place.


Then take your ruffles (if you don't have leftover ruffles like I did, you can always make some and then come back to this step) and arrange them on the larger piece of fabric (40cm x 40cm) in a way that pleases you. I just arranged them in (relatively :P) straight rows and pinned them down.


After pinning go in with your sewing machine and stitch them in place (instead of a sewing machine you could do this whole project by hand, it will just take you more time to finish but it is absolutely doable if you don't own a sewing machine or are not familiar with using one).


After sewing on the ruffles it's time to assemble the pillowcase. Lay the larger piece down so that the ruffles are facing up (right side up). Then lay one of the smaller pieces so that the "raw" edges are lining with the larger pieces edges on one side and the other smaller piece so that the edges are lining on the other side (as seen in the picture below). Both of these pieces have to be laid down so that the wrong side is facing up.


Pin the pieces to place and then sew all of the sides together.


Now the last step would be cutting off the corners as shown on the picture below. This step is not necessary but it makes it easier to push out the corners after you have turned the pillow case right side out. After you have turned the pillow case right side out, insert your pillow and...


Voilá! You have yourself a cute ruffly pillow :))


If you're not yet a follower then feel free to click the follow this blog button or go and like my Facebook page, it would literally make me jump for joy!

I hope you have an amazing day, at least I'm loving it because we finally got snow yesterday!
Ciao-ciao!

Monday, December 16, 2013

Pine Cones Dipped in Glitter


My niece-in-law and I went to gather some  pine cones a while ago and some days ago I decided to glam up the pine cones with some glitter to make them a bit more festive.

For some of the cones I used some leftovers of a gold and a silver glitter. I just brushed on some glue and then sprinkled on the glitter.


But as I said those two (very very pretty glitters) were only leftovers from some previous projects so for the rest I just used some golden glitter glue I had and although the glue isn't as sparkly as the leftovers I had, it did the job well enough.
It took a while (approx 1,5 hours) to coat all of the pine cones with the glitter and I also let them dry over night just to be sure the glue has dried properly.


You can use these pine cones to make a garland, or decorate your candle holders or just arrange them in a vase or glass jar and put those on the windowsill.


It looks really pretty and oooh I love the sparkle, especially in candle light. It's a pity that the pictures don't do the glitter justice, it really does sparkle a lot and looks so-soooo beautiful :))


Hopefully I will get at least one more post up before it's Christmas. I can't believe it's just over a week until it's Christmas Eve, I'm so excited!

Ciao-ciao!

PS! Be aware of fire safety if you are using pine cones as decorations around candles. They are very flammable.

Friday, December 13, 2013

Glass Jars and Sparkly Glitter

I wanted to make some candle holders with numbers on them for each of the Advents.
And the easiest way I could think of was to take some random glass jars I had in my collection (yes, I do have a collection of empty jars ;D), some basic paper glue and glitter (I chose red just because I love the colour and I thought it would stand out the most).


I used a small brush to make the shape of the numbers with the glue and a fluffy brush to dip it in the glitter and then tap the brush so the glitter would fall on the glue.

I've tried pouring it straight from the little glitter container before and i don't know if it's just me but it made a huuuge mess. It was a little messy even using the brush but not as much as pouring from the container.


When the glitter had completely dried I brushed off the excess with the fluffy brush, then added some candles and... Ta-Daa! Very easy and quick (it probably took me under 30 minutes to make these).


PS. I took most of the pictures already over a week ago ( that's why there's only one candle burning on most of the pictures) but the picture taken in the evening looked best with all the candles burning :))

I hope you're enjoying December, I know I sure am :))
Ciao-ciao!

Tuesday, December 3, 2013

Pearl Wreath for Christmas

I can't even express how excited and happy I am that it is December already and the Holiday season is on!!
Christmas is definitely my favorite Holiday of the year, I just LOVE it!
I love the weather (especially when it's snowy), I love glögg and ginger breads, I love the festive atmosphere and all the decorations and of course I love spending time with family...do I have to say more? ;D
Every year I try to make some decorations for our home and this year has been the same. I will try to write about as many Christmassy projects as I can and I hope you will enjoy all of them :))
 
I actually made this pearl wreath last year already.
I just used a styrofoam base that I got from a local crafts store, A LOT of different coloured and sized plastic pearls, a hot glue gun and some ribbon.


I basically just glued the pearls on the styrofoam base with my glue gun, arranging the pearls in a way that pleased me. It took much longer than I had anticipated, but it was well forth it. I really like how it came out. It's really festive and that is exactly what I like ;D

I decided to hang it in front of a mirror as I like the effect it gives.


You can see Tindra climbing on some boxes on the background, I actually didn't notice her featuring in the pictures until I looked at the photos on my computer ;P

I'll be back with other Christmassy projects soon, until then I hope you're enjoying the Holiday fuss as much as I am.

Friday, October 18, 2013

Apple jam and pretty little jars

Who doesn't like a nice jar of spicy apple jam?
Well I definitely do and that's why I decided to make some for the first time in my life. I also decided to alter the spices a little for every batch I made just to try out different tastes and combinations :))The actual recipe of the jam is combined from a couple of recipes I found on the internet. And I can tell you that i didn't follow them very strictly, I kind of winged it :P
The only thing I actually tried to follow was that for every liter of cubed apples I used approximately 250g of sugar (maybe little less, because that seemed like A LOT of sugar).
So the recipe that I came up with was something like this:

  • Ingredients: 4 l of apples (peeled and chopped into cubes)
                     1 kg of jam sugar (it has some pectin in it witch acts as a gelling agent)
                      spices to your flavor (this is optional)

    *I made three different kind of jam: one with
    cinnamon (I put two cinnamon sticks to thepot and added a teaspoon or so of powdered cinnamon also), another one with ginger (I used a couple of teaspoons of powdered ginger but you could also use fresh ginger and grate it into the pot) and the last one with a combination of Christmas spices (a couple of cinnamon sticks, a couple of teaspoons powdered ginger, 6-9 gloves and a teaspoon of ground nutmeg)

     
  • Making the jam:
    Start with peeling, coring and chopping the apples into cubes. Place into a large pot, pour the sugar over the apples (don't mix), cover the pot and let sit over night. This helps the apples to release their own juices so you don't have to use any water to make the jam. This makes the taste more concentrated. The next day put the pot on medium heat and let simmer for 10 minutes. Add the spices and let simmer for another 10-15 minutes, mixing occasionally.
    While the jam is simmering prep your jars and lids.
    When the jam is ready and your jars are prepped it's time to fill the jars and put the lids on immediately while the jam is still hot (be careful not to burn yourself). this makes sure the lids will be airtight.

When the jars have cooled, it's time to make the labels and decorate the jars (this part is optional of course, but for me it makes the jam even more special).
I used some little doilies, white fabric with little red polka dots and some red yarn.
the doilies were too big so I cut them a bit smaller with these scissors with a zigzag edge, I also cut the fabric with the same scissors.


I wrote the labels, glued them on, put the fabric on the lids and tied it with the yarn. it's fairly simple but it took me a while to tie the fabric on top of the lids, it's more difficult than it seems :P and i should have used different glue for the labels so the writing wouldn't have bled. All in all I'm very happy and proud of my little jars of spicy goodness :))


Have a great weekend!