Showing posts with label baby. Show all posts

Friday, May 10, 2013

A Summer Bonnet

I found this tutorial for making a bonnet and I knew right away that I want to make one for my daughter Tindra. And because we've had quite warm weather here in Estonia I thought it would be quite appropriate to also write about it.

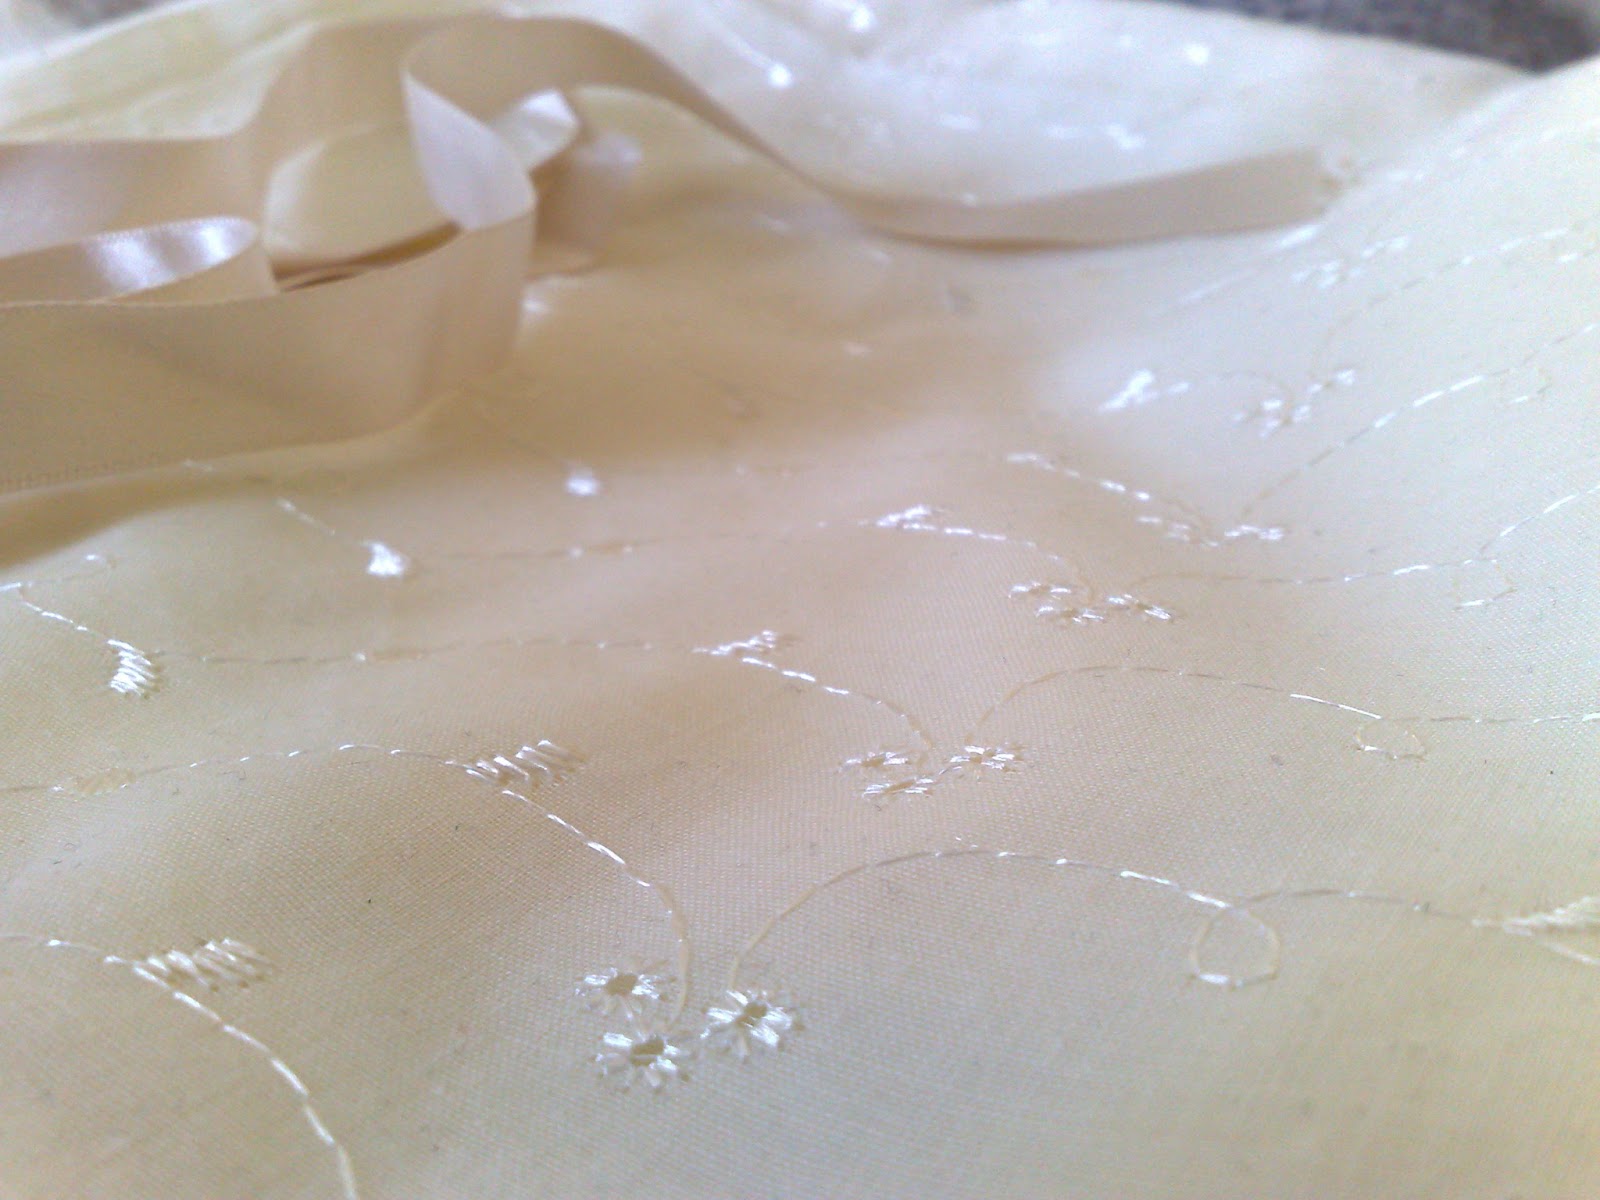
I had bought this fabric from our local fabric store a while ago just because I liked it a lot and thought it was pretty. And when I found teh tutorial mentioned above I knew I would use this fabric for making it. (I only used a small part of the fabric so I still can make a dress or something else for the summer ;D )

I love the embroidery on the fabric.
There are much better instructions in the blog I referred to before but I will briefly take you through the process, too. Firstly cut out the pieces for the bonnet. The bigger crown piece is 18cm x 36cm, long side on fold. And the two smaller brim pieces are 9cm x 23cm, short side on fold. Also cut out two pieces of interfacing for both of the brim pieces. (Lets see how many times I'm able to write the word "piece" in this post ;D ;P).

After this iron the interfacing pieces on the brim pieces. Note that you will iron it on the wrong side of the fabric. I accidentally ironed it on the right side on one of the pieces, fortunately my fabric looks almost the same on both sides so it's not very noticeable.

Then sew the two brim pieces together with the right sides facing each other and leaving the long straight side open.Turn the brim right side out, cut the corners.

Fold the edge inside and press so it will be easier to attach the gathered crown piece between the brim.

Hem the crown pieces neckline (the straight shorter side of the crown piece). 


I forgot to take pictures of the last steps of making the bonnet, sorry.
Stitch the crown pieces unhemmed sides (from the neckline on one side around the curve to the neckline on the other side), pull the yarn so that it gathers the fabric. The gathered fabric should match with the pressed side of the brim. Then put the gathered fabric between the brim, attach it with pins and sew along the brim.

I attached a rubber band to the neckline (from one side of the brim to the other) because the bonnet was very big for my daughter.

Lastly I attached some ribbon so we could tie a nice bow and keep the bonnet from slipping off her head.
I really like the way it turned out, it's super cute and I can't wait for summer so she can wear it all the time :))
Also I think this will fit her at least two summers if not three, because of the gathered fabric and the rubber band at the neckline.She will definitely get a lot of use out of it :))


I secretly want to make one for myself also ;P. Too bad I'm not a cute baby who can pull it off ;P ;D


Hope you enjoyed it! Ciao-ciao!

Friday, April 12, 2013

Sleeping Bag for Baby Stroller or Car Seat

I saw a picture on Pinterest of a car seat blanket (unfortunately the blog post doesn't exist anmore) and thought it was a great idea. So I made one which can be used for the car seat but also in a baby stroller which has straps.

I used a sleeping bag for babies that I already had at hand (we actually have 3 of those, so I didn't mind making a few alterations to one of them), I also used my rotary cutter, some pins, a water erasable pen and some bias tape.

Firstly I roughly measured how long the cuts have to be for the straps to fit through,  made the markings with my water erasable pen. After this I took my rotary cutter and cut two long slits vertically and one shorter one horizontally (according to the markings I had made previously).

Then I pinned the bias tape all around the sides of the slits.

I also decided to hand stitch the bias tape before sewing it with the machine just because sewing a bias tape is one of the things i don't have the talent for ;P

This is what it looks in our stroller with the straps pulled through the slits.

And this is what it looks  with a baby in the stroller :)) The sleeping bag has a zipper so if she falls asleep we can just zip the sleeping bag up and she's nice and cozy :)) This will definitely get a lot of use from us :))

I wish you a day full of sunshine and positivity!
And don't forget to like and follow if you enjoyed it.

Tuesday, November 20, 2012

Flower headbands

Hi everybody!


I decided to make some cute headbands for our little princess. For the band I used some stretchy lace ribbon and also some jersey fabric. I crocheted some of the decorative flowers and stitched together some fabric for the others.

I used THIS pattern to make these small pink flowers. After crocheting them I stitched them on the lace ribbon and voilà the headband is ready :))

For this crochet flower I used the instructions from HERE. I should have dip the flower to water and pin it to let it dry, then it would have stretched a bit and would look more clean and structured like the one in the instructions. I don't mind it looking a bit floppy though ;P I attached a button in the middle of the flower and stitched the whole thing to the charcoal jersey.

For these flowers I just ruffled some lace fabric, attached some white buttons and stitched them to the lace ribbon. I think this is my favorite of the four headbands I made :))

And last but not least for this flower I used some linen fabric (the leftovers from the bridesmaid dresses that I made for our wedding), ruffled it a bit, attached a button (again ;P) and stitched it to the lace ribbon. Note that she is currently eating one of the headbands ;P

I just had to include this picture in the post because she looks so adooorably chubby on this picture ;D

I hope you're having a beautiful day!

Friday, October 26, 2012

Owl Hat(s)

I wanted to make a cute beanie for our little princess and decided to continue with the owl theme :))
I've actually already made two of these (and the third one is almost done), because she grows so fast that the first one doesn't fit anymore and the second one probably won't fit soon either ;P
I bought the pattern for this hat here but if i would have found this tutorial first i would have definitely used that one :))


I think she looks absolutely adorable with the owl hat :))

 aah..and when I showed the finished product to my husband, he demanded that i would make one for him also. So i did :)) And together they look even more adorable ;D


Hope you have a beautiful day!

Wednesday, October 17, 2012

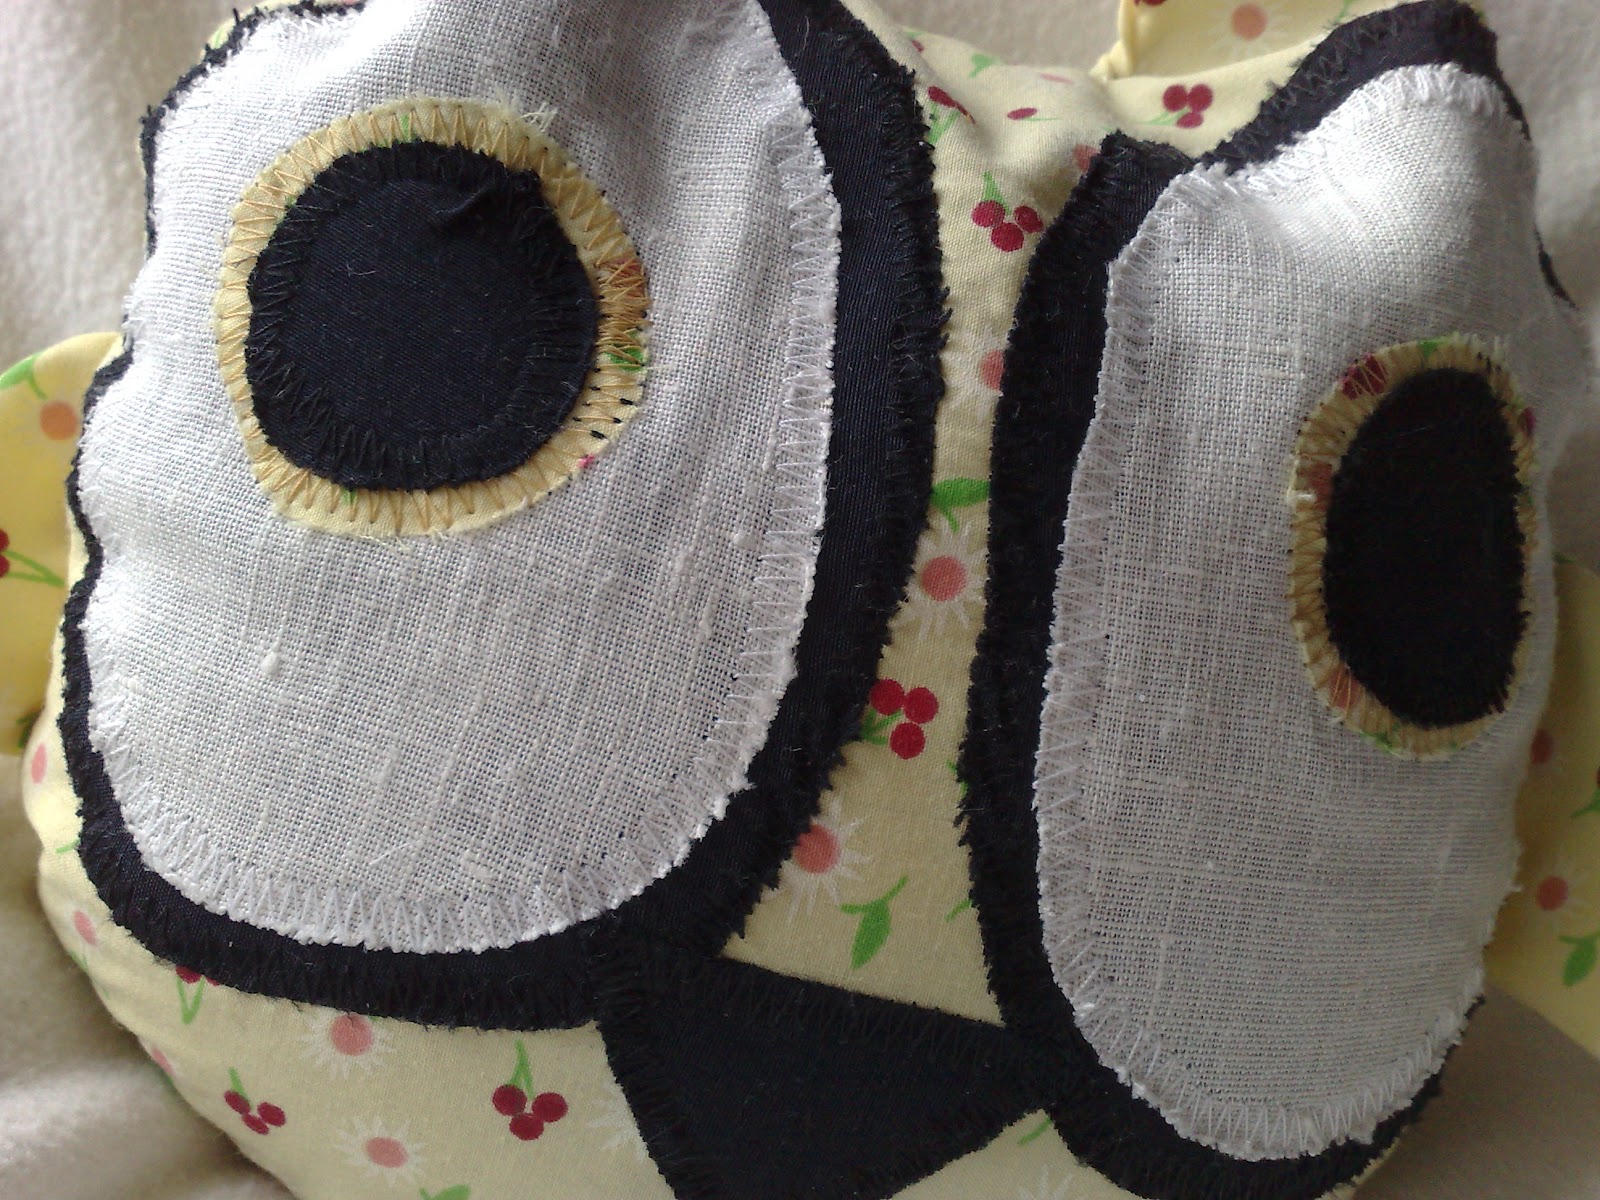
Owl Toy

We have kind of an owl-theme going on with our little daughter. For some reason i've been obsessed with owls, i just find them so cute :))
So I made this owl toy out of some pieces of fabric i had lying around. I decided to fill the toy with rice because now we can put it in the microwave and heat it up. That way when she goes to bed she has something warm cuddling her :))


I think i might take some of the rice out to make the toy a bit lighter, right now it's quite heavy and bulky but still so adorable ;D

Have a beautiful autumn day!

Saturday, October 13, 2012

Baby Blanket

One of the thing i definitely wanted to make for our little princess was a baby blanket. So I started to look for different inspirational pictures and oh, there were so many sooo cute options but i finally found the picture below on Pinterest and used that for inspiration.


I started to make the blanket when i was pregnant and we didn't yet know if we were expecting a girl or a boy so i made the squares in different colours and when we found out that we're having a girl i used more pink ;D

And this is the blanket after attaching all the squares together and i also made a crochet trim around the blanket for a nice finishing touch.

And here's the blanket in use a few months ago. And isn't that the coolest baby carriage ever, it's the one that my parents got when i was a baby :))

Lots of love!

Monday, September 17, 2012

Crochet Baby Slippers

I had a baby about 3 months ago and when I was expecting i made a few baby things for her. One of the first things i made were some baby slippers.


 I saw this picture of some crochet baby slippers on Pinterest and it directed me to THIS blog-post where I found THIS tutorial on YouTube.

https://blogger.googleusercontent.com/img/b/R29vZ2xl/AVvXsEg69qs5mXbcC-DkTf_eIMlb6Sds-_3icox7JcAt-qnQIlPHclQ6s9QLy0B0JHn1nmdzPUggwXTqLP4NlZK3_g-SM0N1fjHDEui3oWU9j3Oay8E7iIKsrGLKFVgnRvzS4Sw6A9lq4OU8ymOV/s1600/babyschoentjes2.jpg

I followed the tutorial up to the part where she makes the strap and I'm quite happy with the result :))


I have to make some more of these slippers because these are already small for our little princess. Her feet (and everything else ;D) grow so fast :))

I wish you have a sunny autumn day!