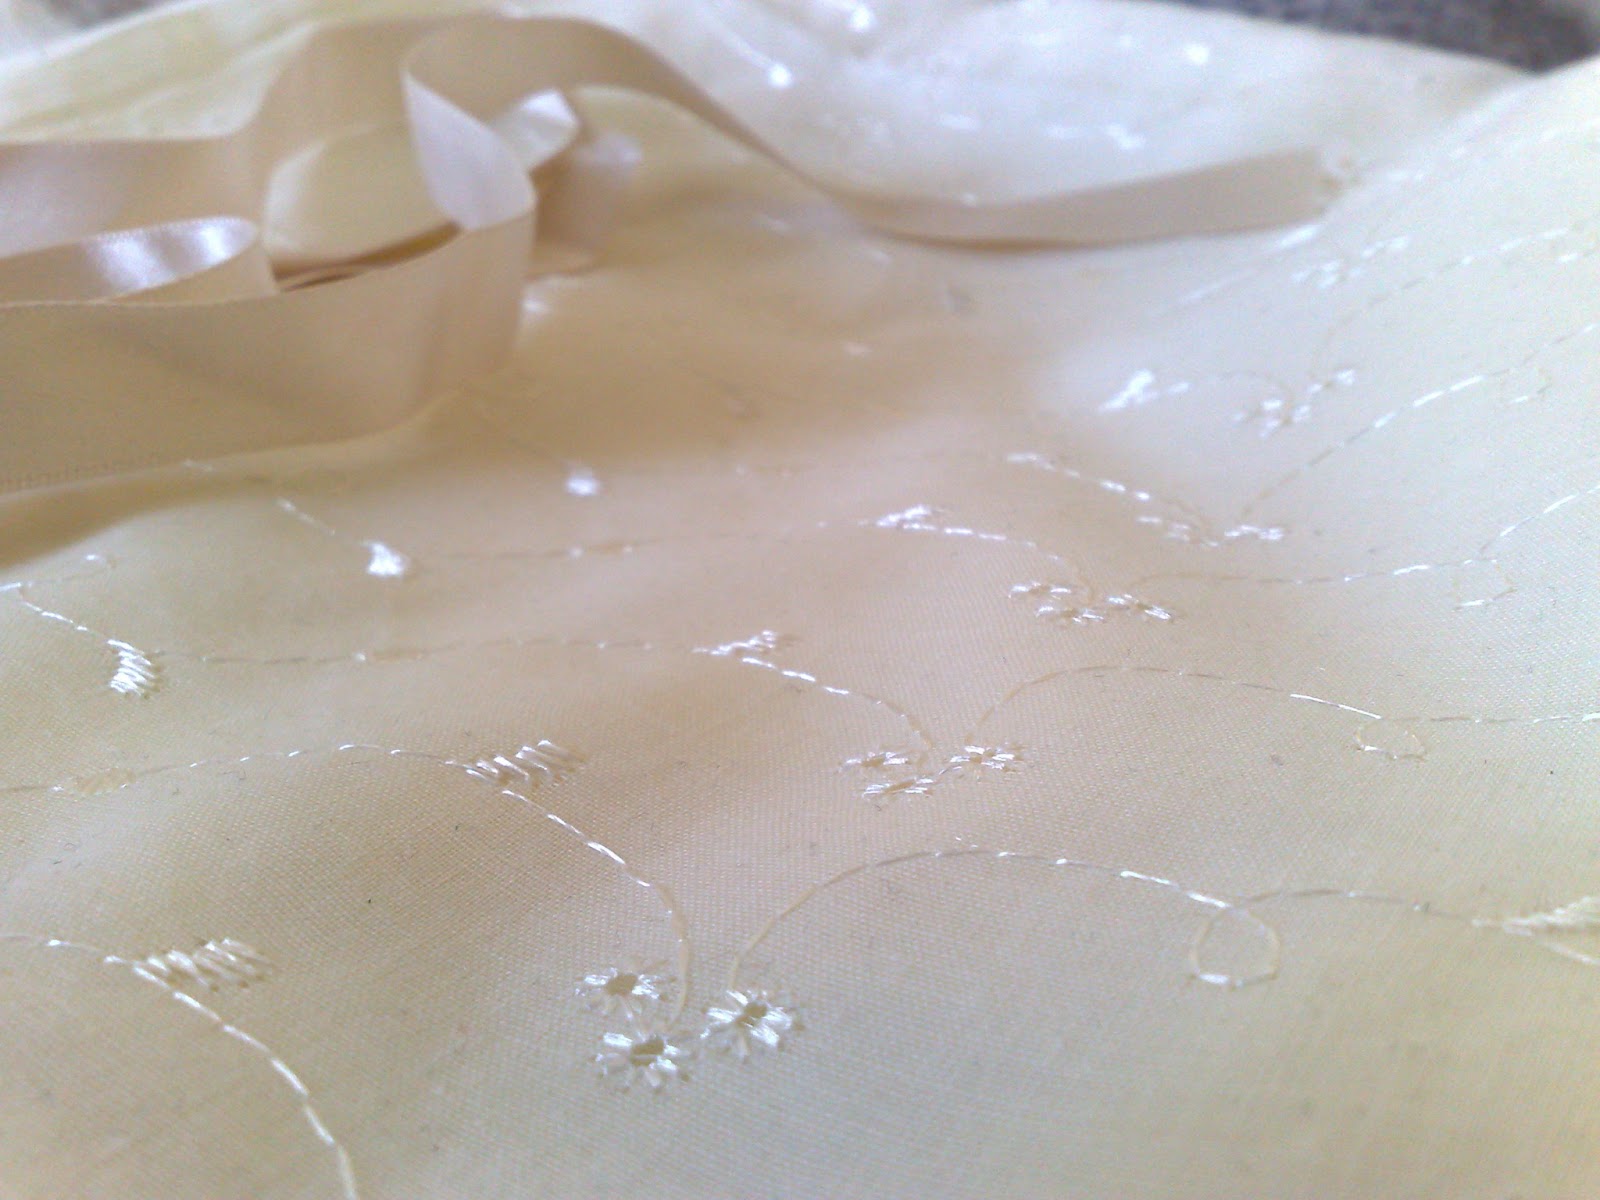
I had bought this fabric from our local fabric store a while ago just because I liked it a lot and thought it was pretty. And when I found teh tutorial mentioned above I knew I would use this fabric for making it. (I only used a small part of the fabric so I still can make a dress or something else for the summer ;D )

I love the embroidery on the fabric.
There are much better instructions in the blog I referred to before but I will briefly take you through the process, too. Firstly cut out the pieces for the bonnet. The bigger crown piece is 18cm x 36cm, long side on fold. And the two smaller brim pieces are 9cm x 23cm, short side on fold. Also cut out two pieces of interfacing for both of the brim pieces. (Lets see how many times I'm able to write the word "piece" in this post ;D ;P).

After this iron the interfacing pieces on the brim pieces. Note that you will iron it on the wrong side of the fabric. I accidentally ironed it on the right side on one of the pieces, fortunately my fabric looks almost the same on both sides so it's not very noticeable.
Then sew the two brim pieces together with the right sides facing each other and leaving the long straight side open.Turn the brim right side out, cut the corners.

Fold the edge inside and press so it will be easier to attach the gathered crown piece between the brim.

Hem the crown pieces neckline (the straight shorter side of the crown piece).

I forgot to take pictures of the last steps of making the bonnet, sorry.
Stitch the crown pieces unhemmed sides (from the neckline on one side around the curve to the neckline on the other side), pull the yarn so that it gathers the fabric. The gathered fabric should match with the pressed side of the brim. Then put the gathered fabric between the brim, attach it with pins and sew along the brim.
I attached a rubber band to the neckline (from one side of the brim to the other) because the bonnet was very big for my daughter.
Lastly I attached some ribbon so we could tie a nice bow and keep the bonnet from slipping off her head.
I really like the way it turned out, it's super cute and I can't wait for summer so she can wear it all the time :))
Also I think this will fit her at least two summers if not three, because of the gathered fabric and the rubber band at the neckline.She will definitely get a lot of use out of it :))

I secretly want to make one for myself also ;P. Too bad I'm not a cute baby who can pull it off ;P ;D